
My reusable underglaze transfers offers an excellent way to transfer intricate designs onto your pottery with efficiency and precision. Whether you're looking to improve your business model or simply enhance your skills, the possibilities with these transfers are endless. Discover the potential of this technique and take your pottery creations to the next level.
Here's a step-by-step guide on how to use my transfers on ceramics:
Materials You'll Need
- Reusable Silkscreens
- Ceramic piece (leatherhard or bisque)
- Underglaze
- Silkscreen Medium
Steps to Follow:

Place the transfer on top of the ceramic piece. Make sure the design is centered and straight.

Thicken your underglaze with Mayco silkscreen Medium or you can also let it sit and dry out until it’s the consistency of peanut butter. This is the critical part of making a successful transfer. Practice until you get the correct consistency.

(This is the consistency I use, it’s similar in thickness to peanut butter)
Use your finger to push underglaze through the transfer onto your piece. I find a circular motion works best.

Carefully lift the transfer off the ceramic piece and let it dry.

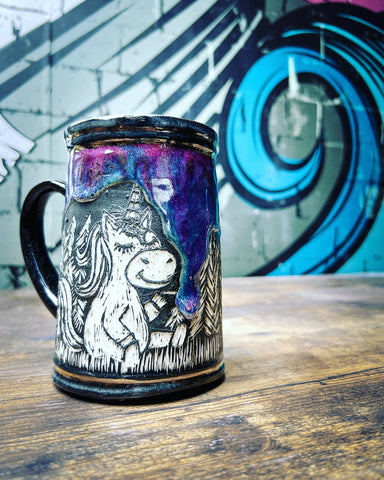
(I used a black underglaze transfer on black silkscreen for sgraffito)
Now you can wash your transfer and repeat! These transfers are designed to last through many applications, I’ve used some of mine for years.
You can use the reusable transfers for:
- Sgraffito
- Slip trailing
- Painting with underglaze
- Relief carving
- Use stable glazes to color in the design
- leave it as is and use colourful glazes around the design
My reusable transfers are a great method to transfer designs to ceramics and I incorporate them regularly in my work
Your thoughts and experiences matter! Please share your insights by leaving a comment here about using transfers on ceramics. Have you tried this technique? What challenges did you face, and how did you overcome them? Do you have any tips or tricks to share with fellow pottery enthusiasts? By leaving a comment, you contribute to the collective knowledge of our community and inspire others on their creative journey.